Make It Monday: Miss Z’s New Loft Bed
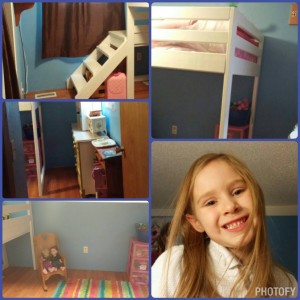
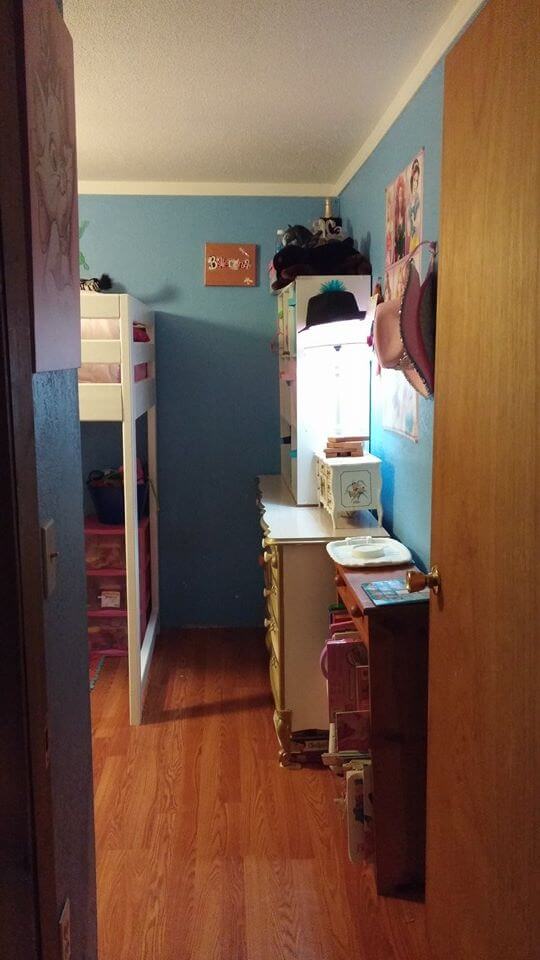
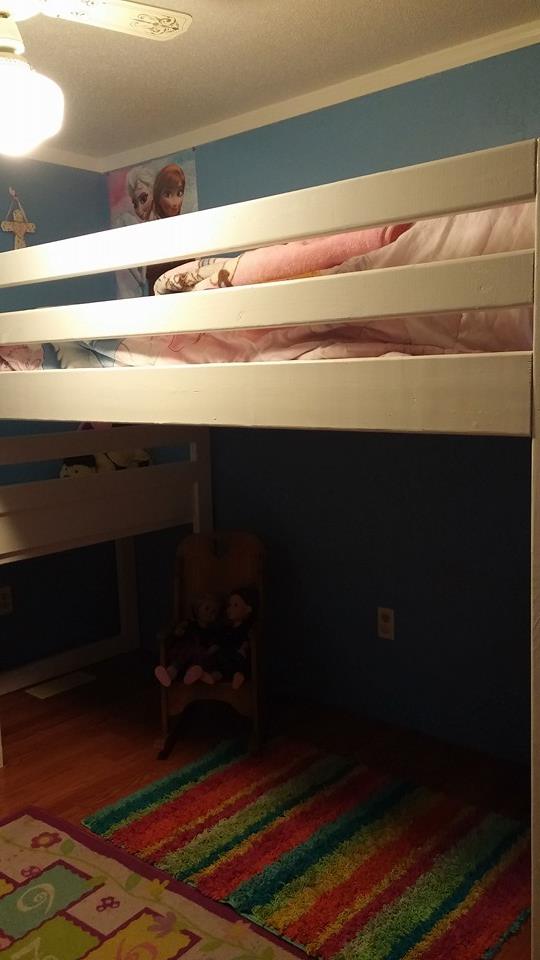
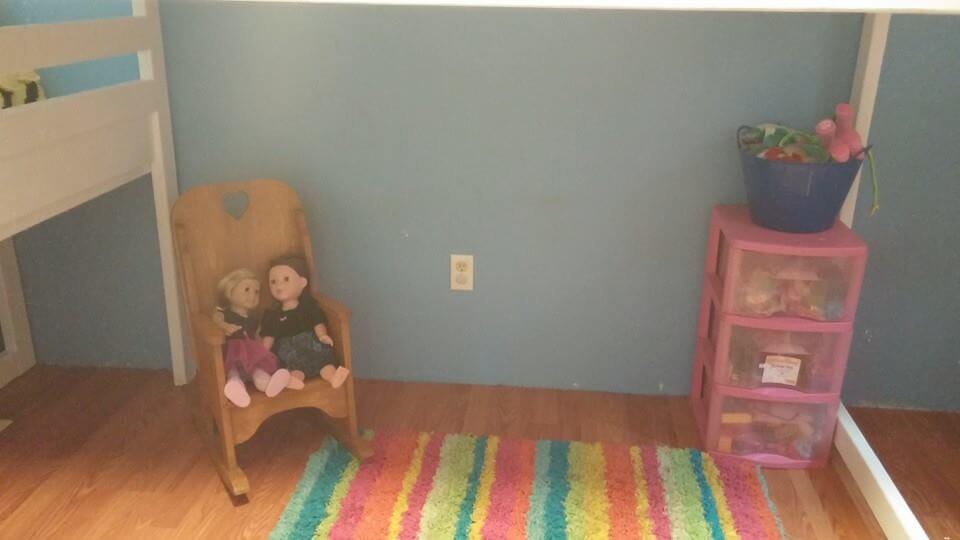
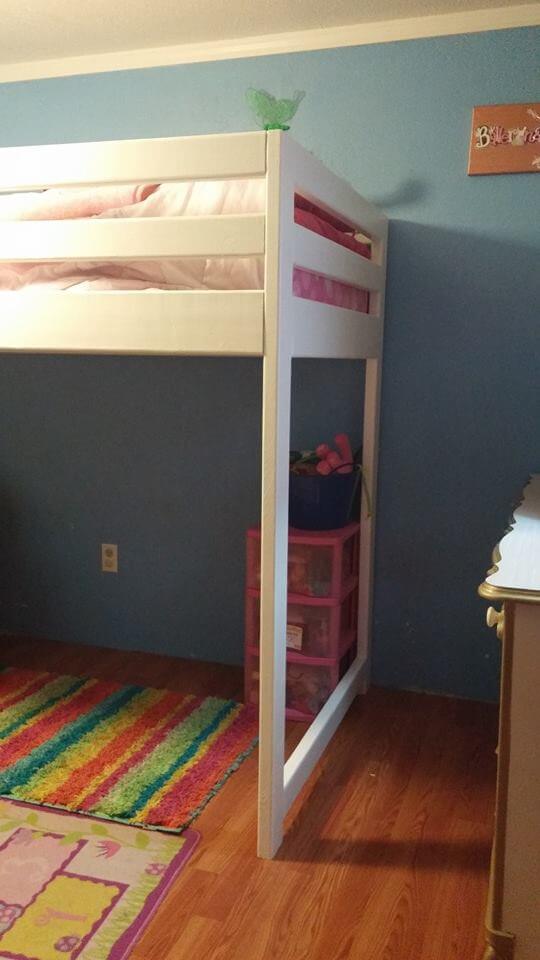
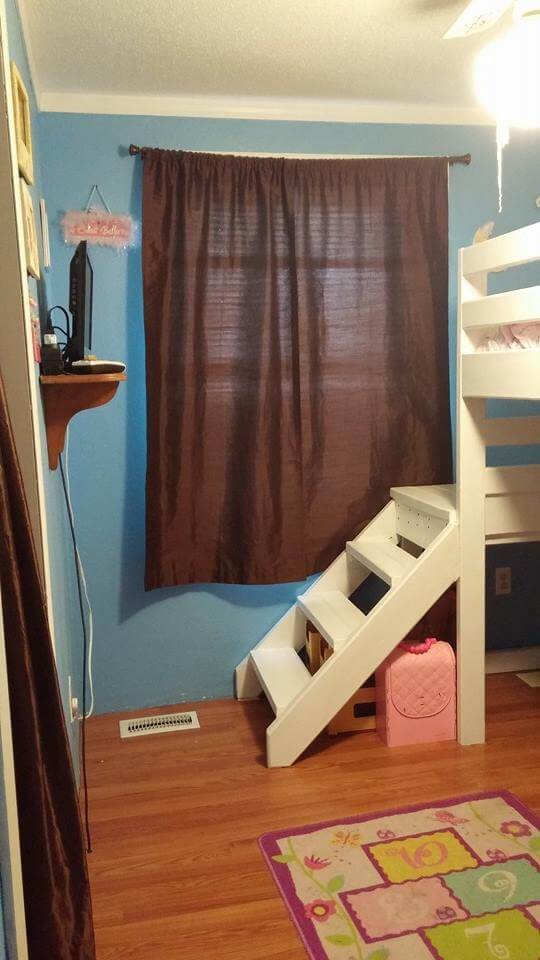
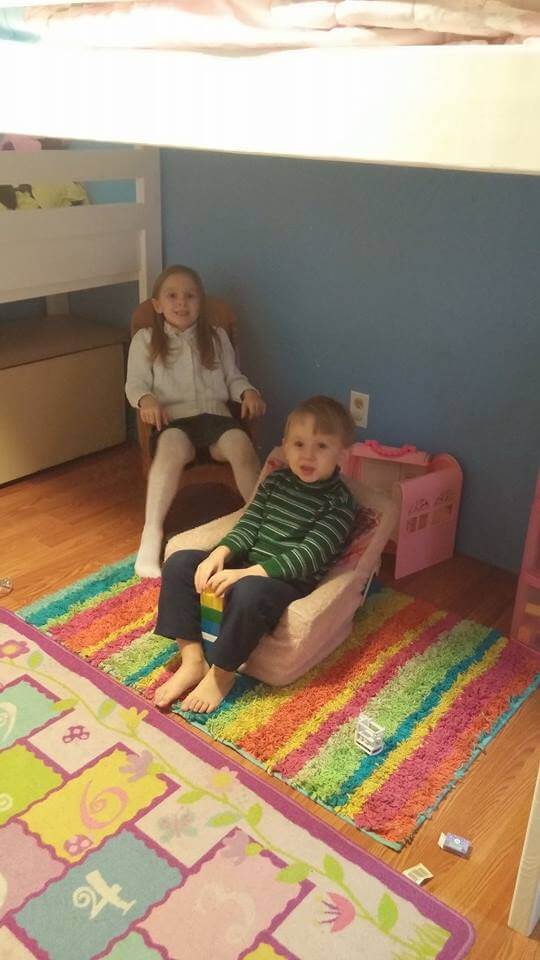
Recently (December 19th) my Dad “installed” Miss Z’s new bed in her room. It wasn’t really a Christmas present but it does create lots of options for future presents. I know it is huge in her room, however she now has almost the entire floor to play on. Thank you to my Dad 🙂
If you have followed my posts, you know how much I LOVE Pinterest. Well this is another find.
I have been searching the website for a Loft bed with out a ladder but one that would work for what I wanted. This was the closest one I could find with actual PLANS! Not just plans, but pictures, cut lists and step by step instructions. I thought briefly about putting it together my self but then i thought again and decided I had better not or it would end up as a pile of firewood.
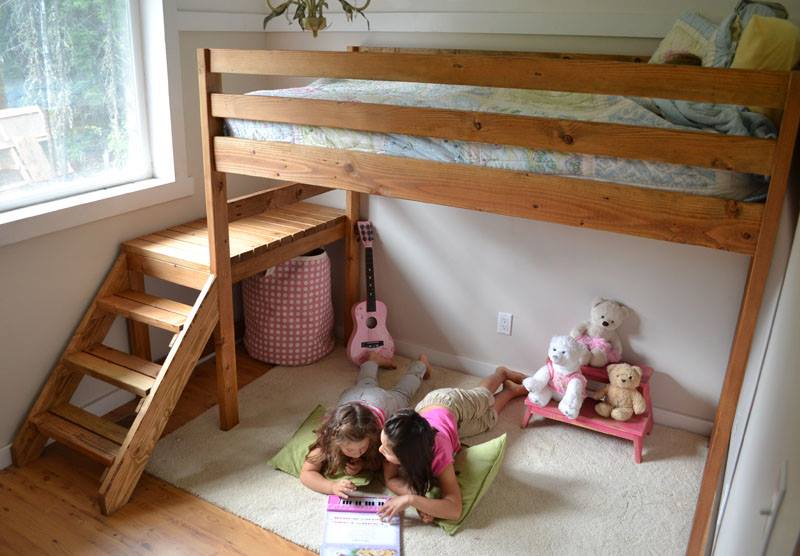
I found the plans for this Camp Loft Bed with Stairs at Junior Height here:
http://www.pinterest.com/pin/493918284107680348/
http://ana-white.com/2012/07/plans/camp-loft-bed-stair-junior-height?page=6
Ana White provides free and easy DIY project and furniture plans for people to create. Below is the Shopping list, Tools and Cut list provided by Ana White.
- 14 – 2×4 @ 8 feet long
- 4 – 2×6 @ 8 feet long
- 2 – 2×2 @ 8 feet long
- 1 – 1×2 @ 8 feet long
- 2 ½” PH screws
- measuring tape
- square
- pencil
- safety glasses
- hearing protection
- Kreg Jig
- Drill
- Circular Saw
- random orbital sander
- countersink drill bit
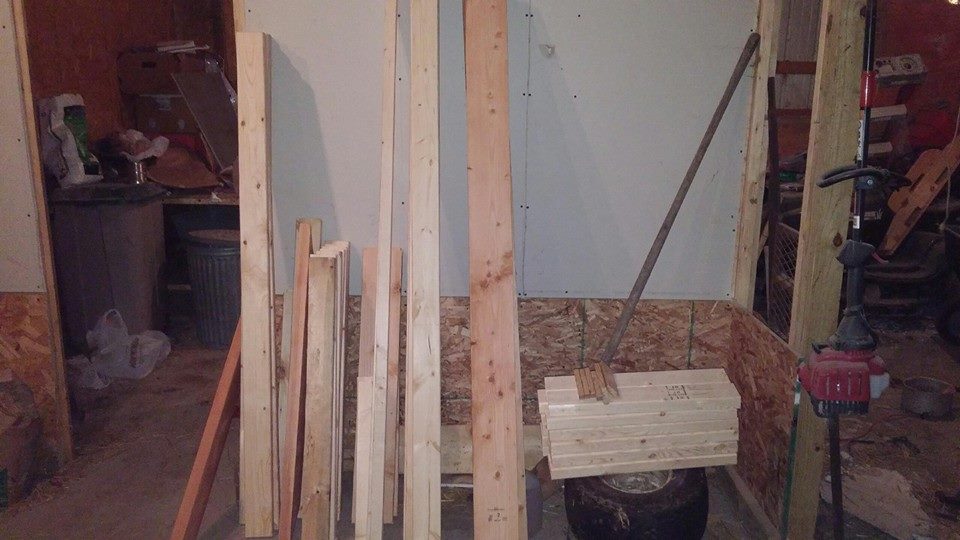
- 4 – 2×4 @ 65 ½”
- 2 – 2×6 @ 37 ½”
- 5 – 2×4 @ 37 ½”
- 4 – 2×4 @ 75”
- 2 – 2×6 @ 75”
- 2 – 2×2 @ 75”
- 2 – 2×4 @ 30 ½”
- 2 – 2×4 @ 37 ½”
- 1 – 2×4 @ 41 ½”
- 2 – 2×4 @ 20 ½”
- 12 – 2×4 @ 22”
- 2 – 2×6 @ 43” (both ends cut 45 degrees off square, ends NOT parallel) – to be trimmed down in later steps
- 6 – 1×2 @ 7 ¾” (both ends cut at 45 degrees off square
- 6 – 2×4 @ 20 ½”
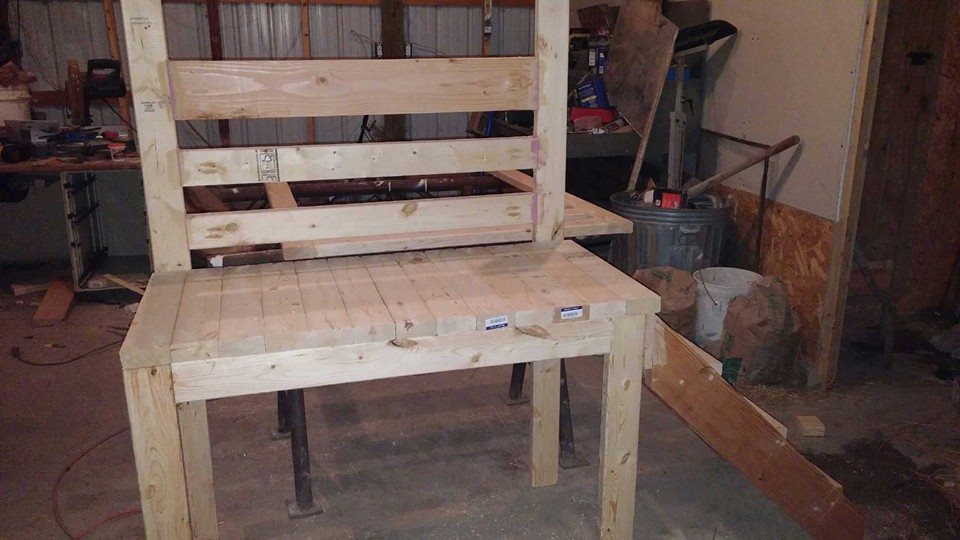
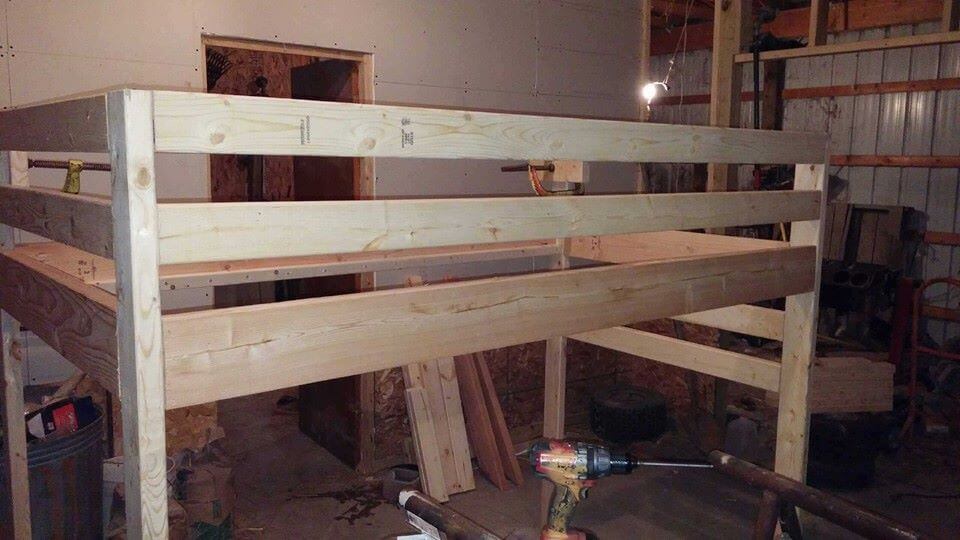
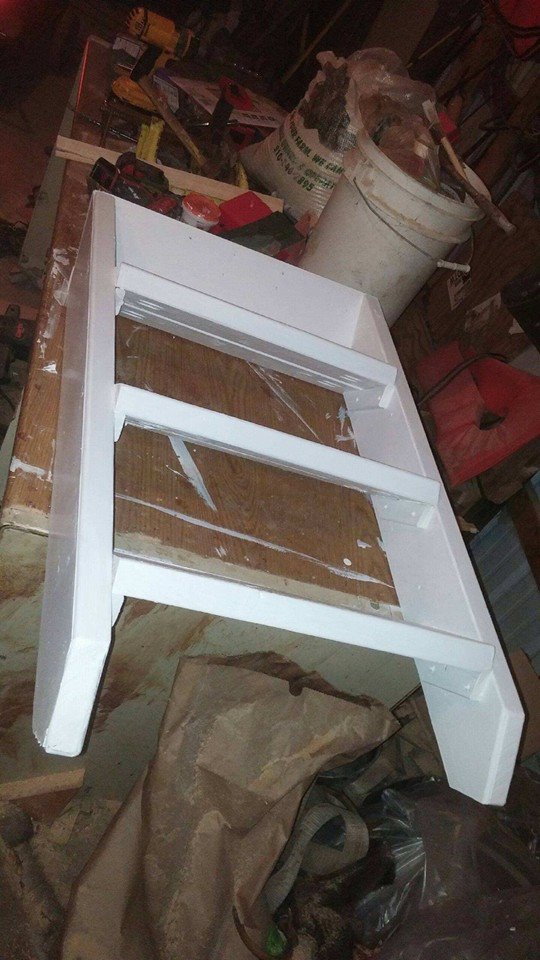
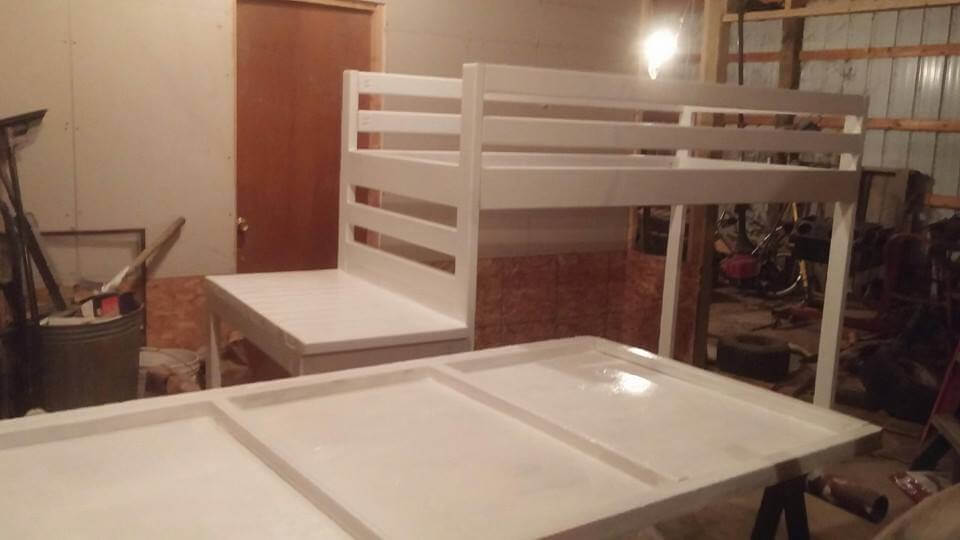
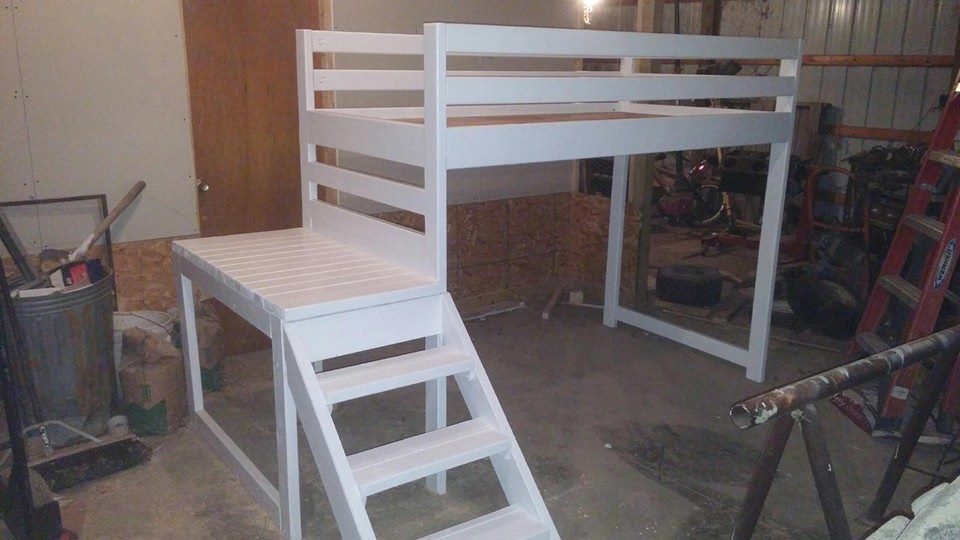
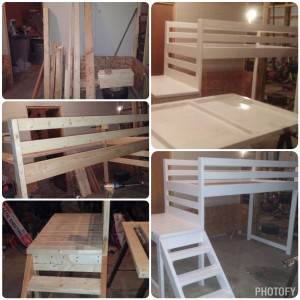
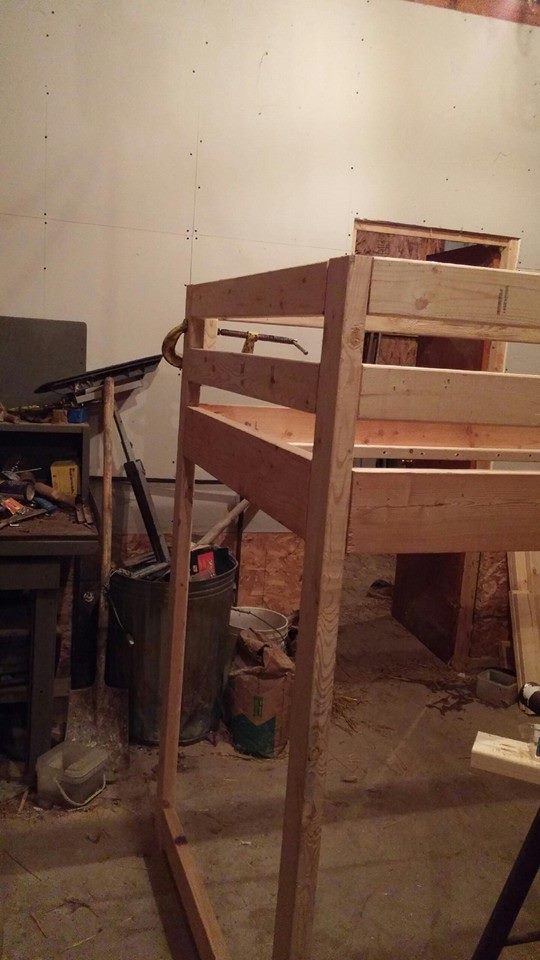
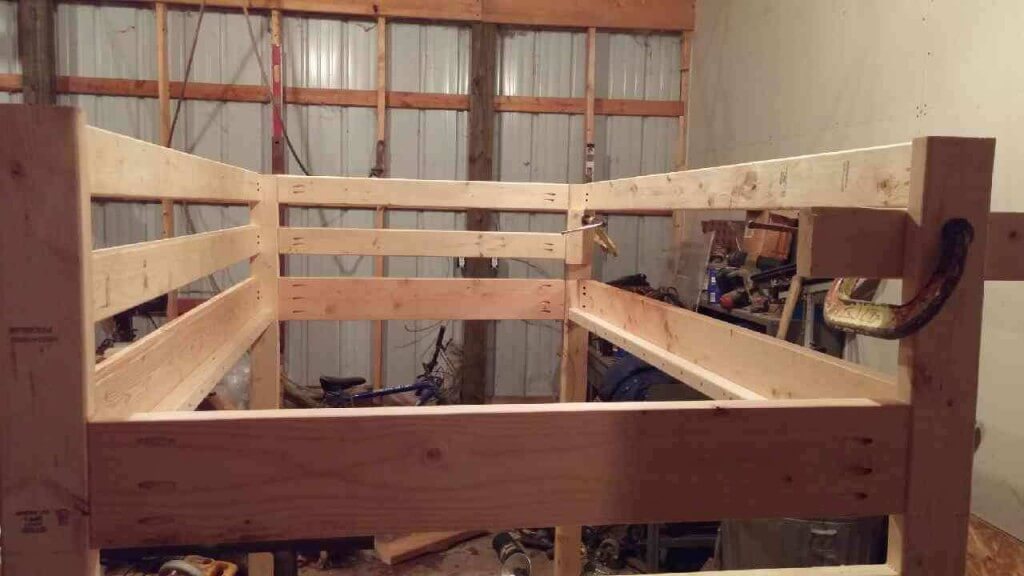
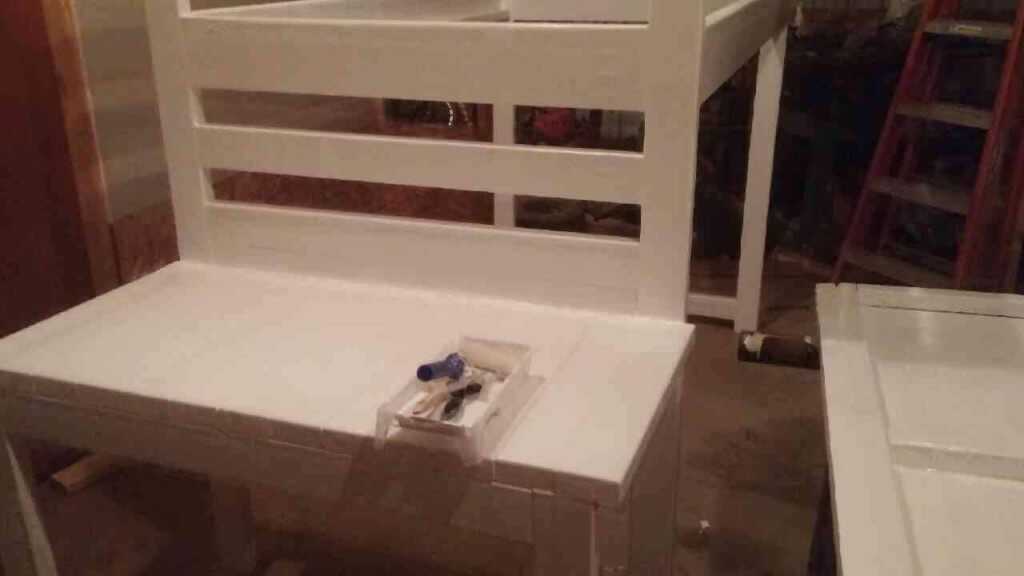
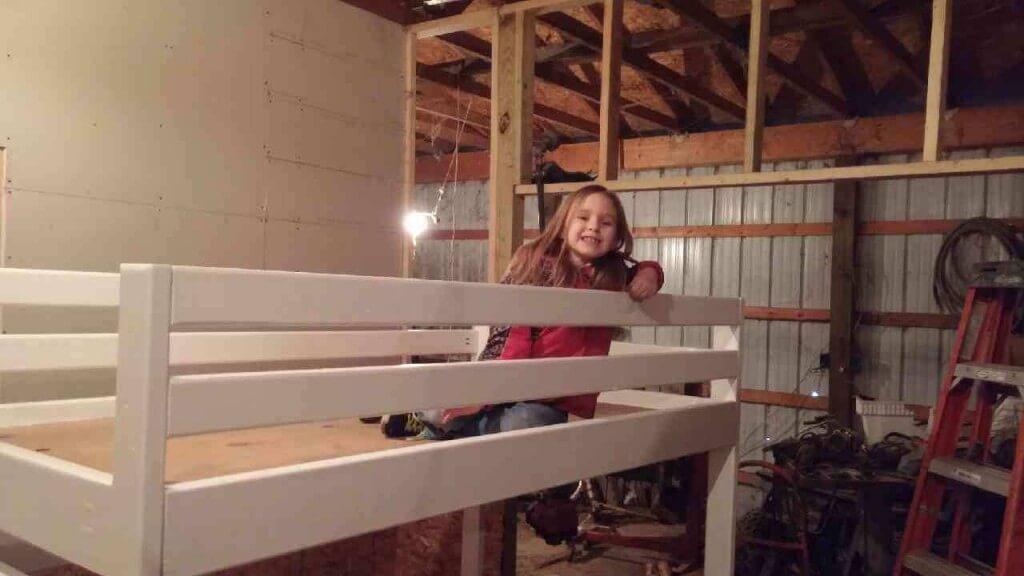
Here are photos of the project in progress that my dad sent. He made some changes to the plans as he went along. Some of his major changes were:
- Instead of strait edges, he rounded the ALL of the edges with a sander.
- Instead of series of slats under the bed, he used a support board.
- Instead of leaving the side open by the stairs, he added an extra board so little feet/ hands would not be able to fit.
- Instead of just kreig jig screws, he added dowel rods in some places for additional support through the sections used to make the support shelf for the flat board/slats that hold up the bed.
- He filled in rough patches, counter sunk screws in with wood putty and sanded the surface smooth.
- He also did that for the rough knots that a few pieces of wood have.
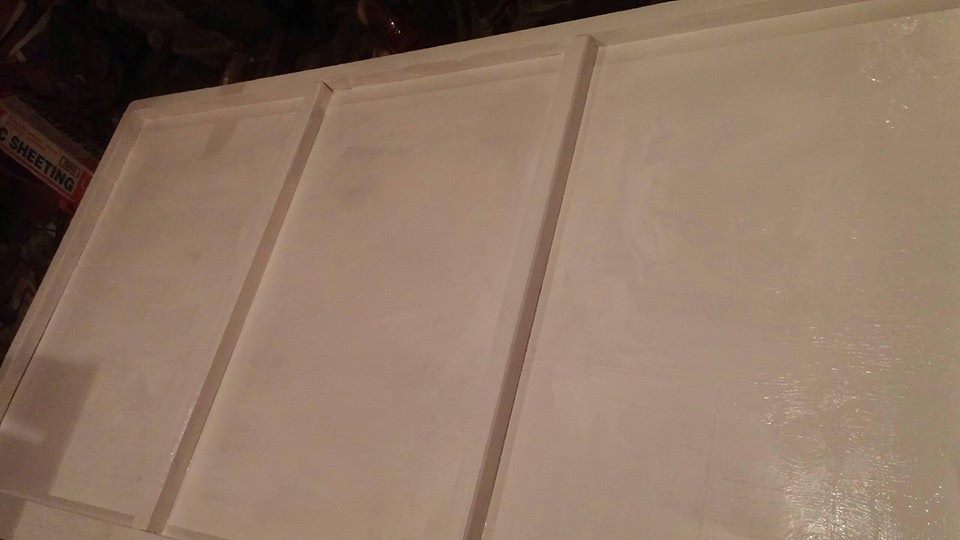
- Instead of staining the bed, I asked him to paint it white. He painted it with 2-3 coats of white primer/sealant for wood and then 2 coats of semi gloss white paint.
Great bed! DIY is nice.