Make It Monday: Warming / Brooder Box for Baby Chicks
Last year our household expanded by 13…
Last spring we became the proud owners of 12 baby chicks and weren’t they the cutest little things you ever did see! We lost a some along the way (2 to our beagle and one to natural causes) which meant we had to get more so our number went down then back up to 13 to move into our rebuilt chicken barn (look for another post about that soon) but we survived the first year with chickens- whew!
Welcome Spring 2017;
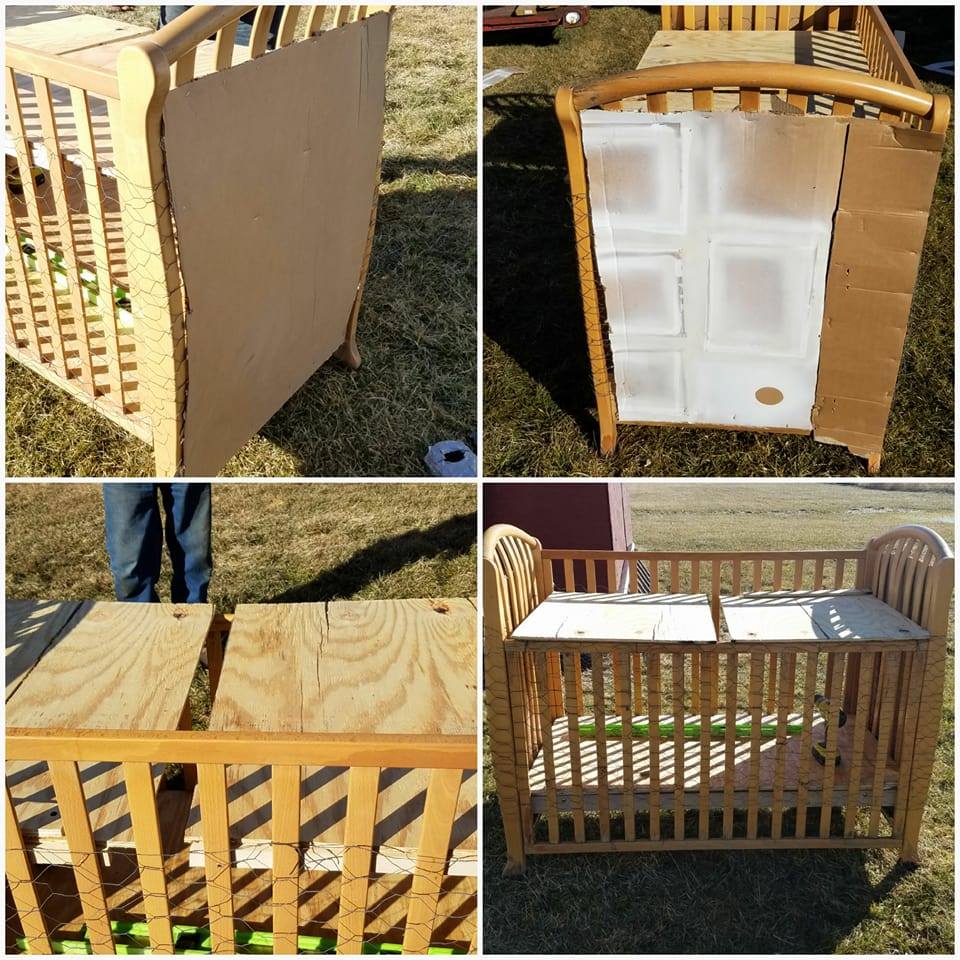
This year my husband and daughter (whom I love oh so much) Have decided to expand the flock even more- oh boy! Which means we have to get a warming/ brooder box ready for them again. We were so not ready for them last year when we brought them home. We started in the kiddie pool pictured above but as many will tell you, that only lasts until they can jump over the sides. So we got a little creative; well- I searched my favorite habit out (good old Pinterest) and found some ideas one of which was using a baby crib for the baby chicks. Last year we took a old drop side crib that we had for one reason or another- you know the ones that are recalled and cant be used for children any more- and did a quick little D.I.Y. on it to make it baby chick friendly. It wasn’t perfect but it worked for the time being, until they were big enough to live in the barn (and until the barn was finished).
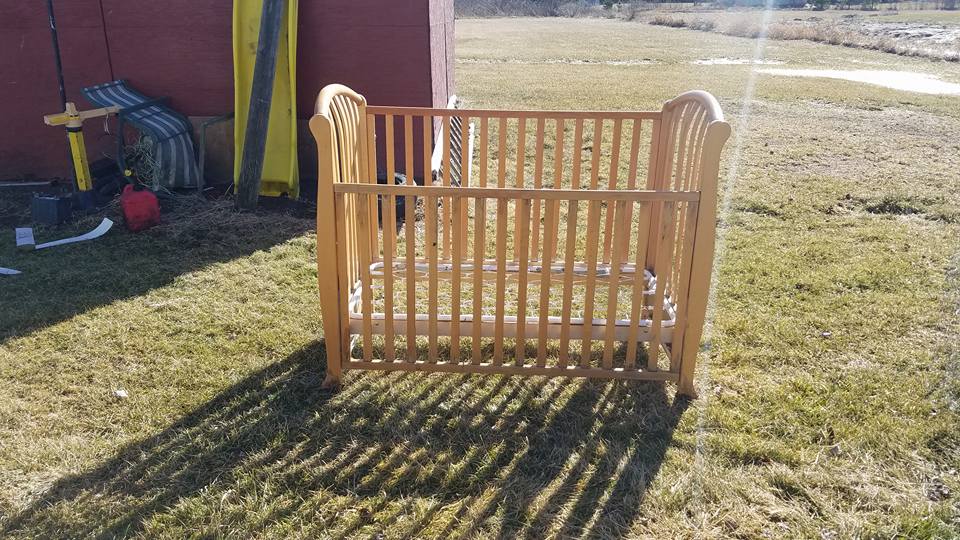
This year we decided to bring the crib out and rebuild it and take the time to get it right…
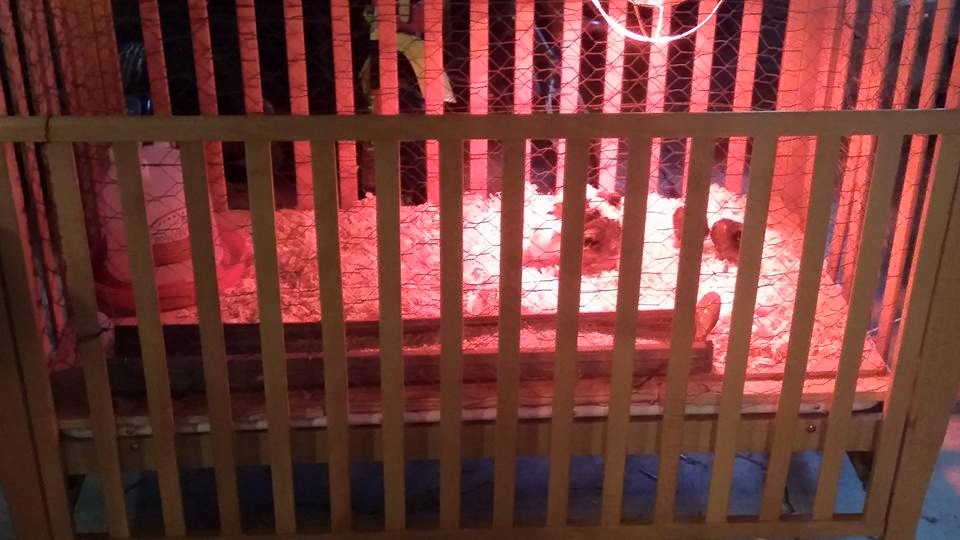
The husband removed the old particle board that was left from last year and replaced it with some new plywood. Added 2 wraps of chicken wire both stapled and wired to the slats.
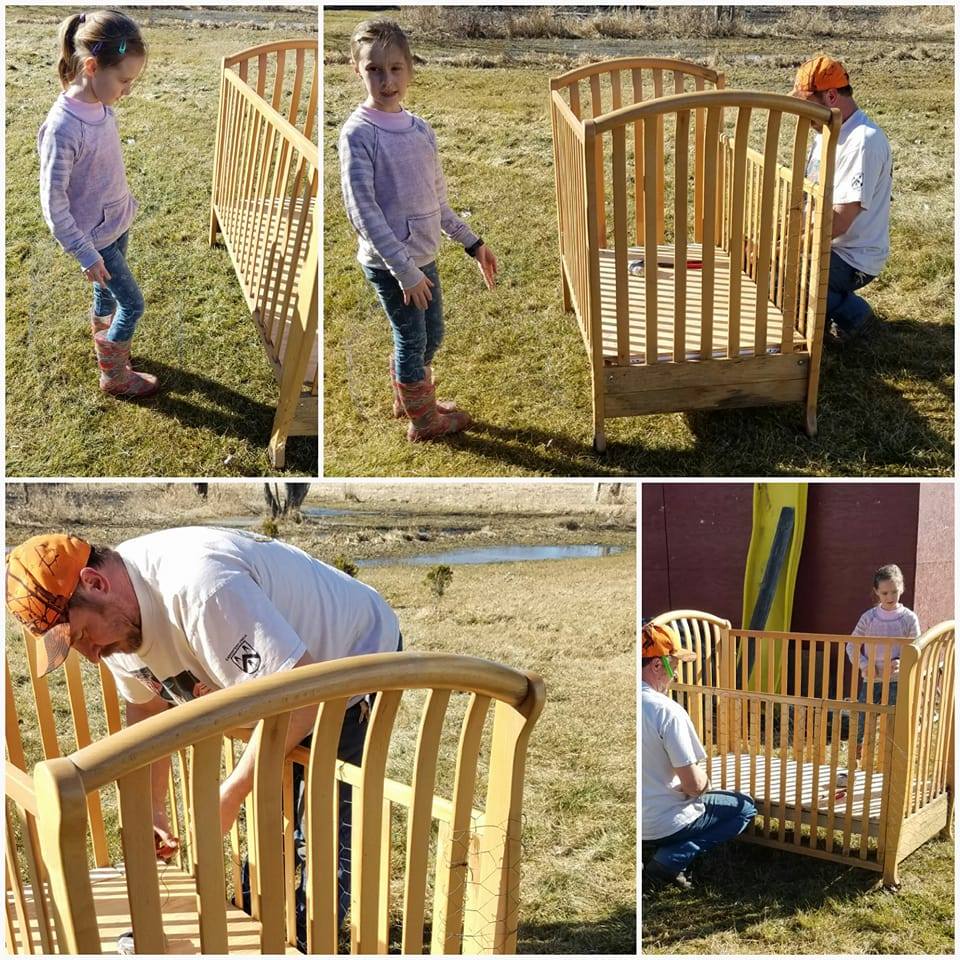
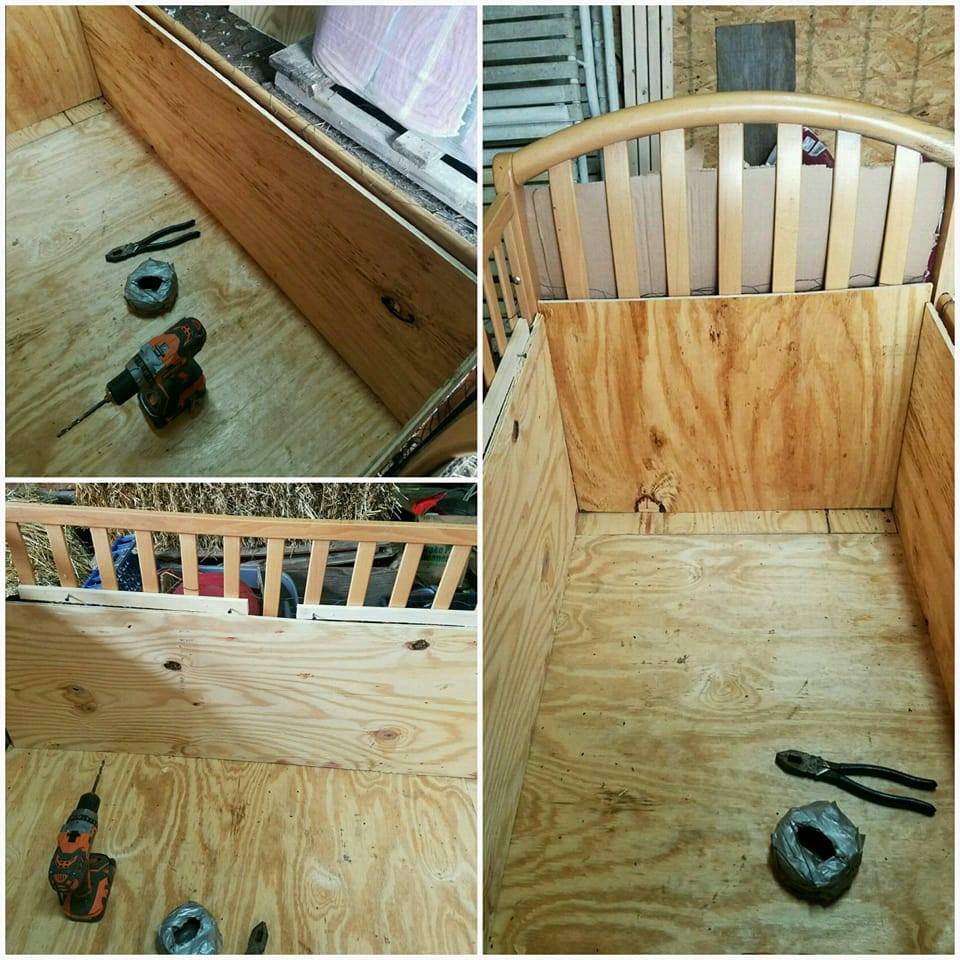
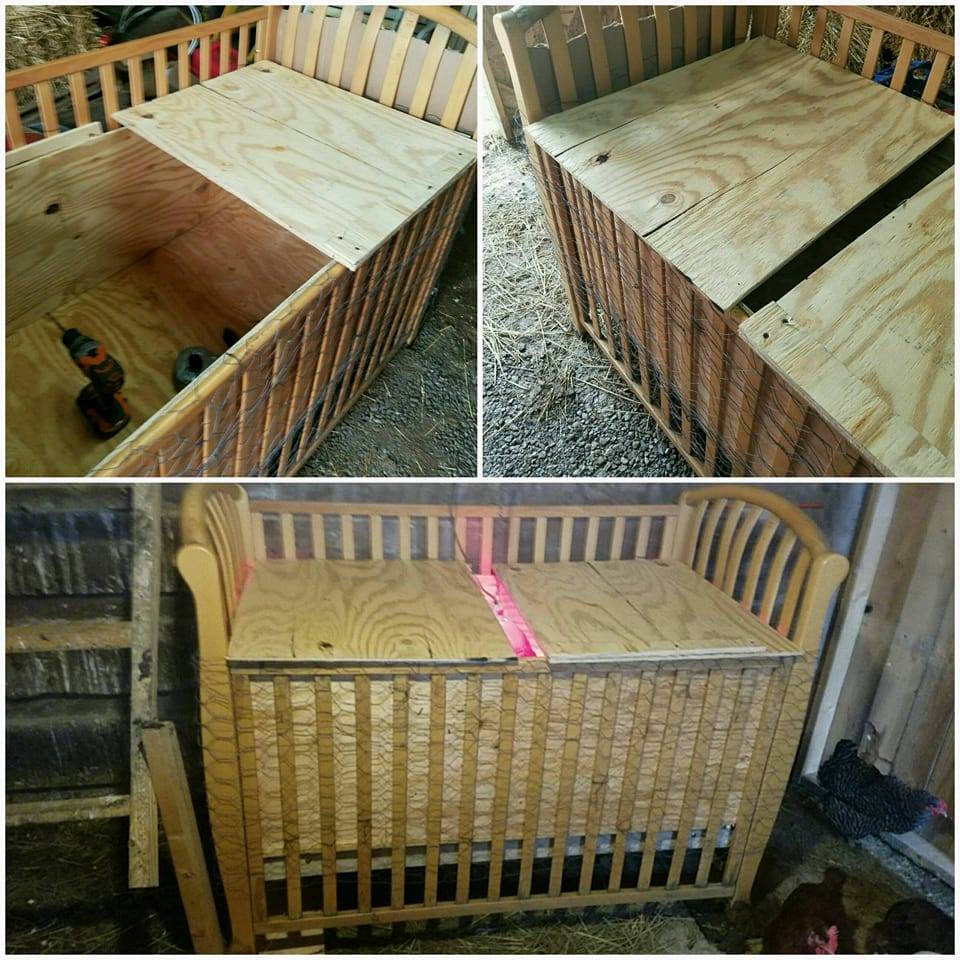
He then cut fresh wood for the inside walls and the top. He put a split top on it so that he could drop a heat lamp in between and still manage to open it for checking up on them and feeding them.
After all the measurements were done and the wood was cut to the right size, he screwed the sides into the slats of the crib, added a lip for the lid to sit on and set it into the Chicken barn in the position that he had already picked out.
After it was in position, Matt added a heat lamp to make sure it was at the right level and would not be bothered by the bigger Chickens.
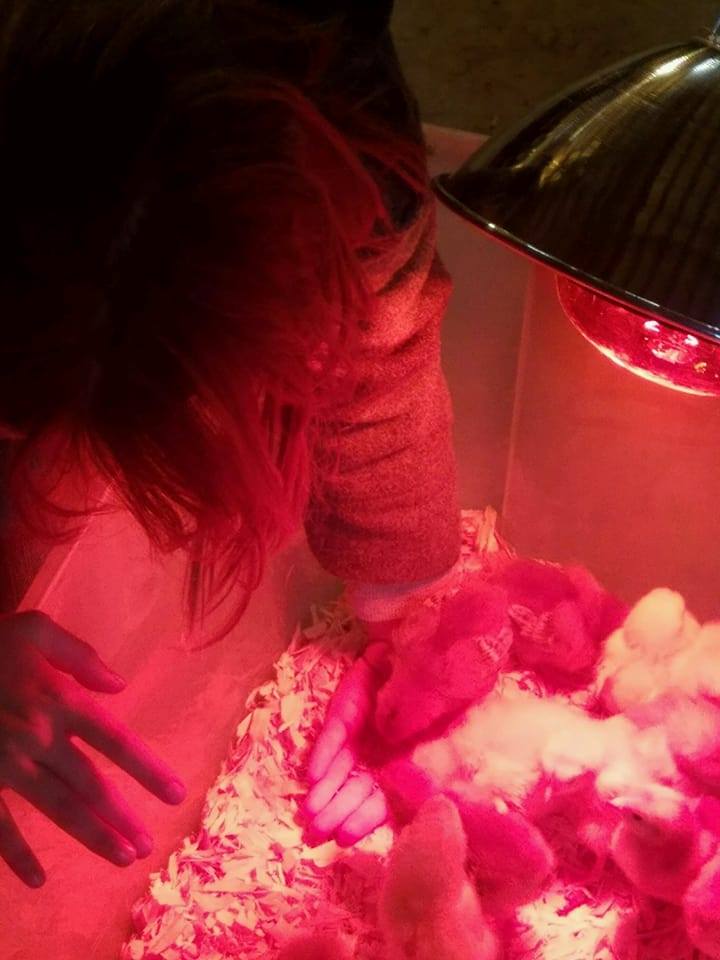
Because brand new baby chicks prefer the temperature to be just under 100 degrees, a heat lamp hung low in the brooder box is necessary. However, because their need for heat decreases about 5 degrees per week, you can start to raise it up each week until they are about 10 weeks old. Around that time they will not need the lamp at all.
When you are buying your heat bulb, your best bet is to get the RED heat bulb. Apparently Chickens are carnivorous little buggers that will peck each other to death if they see even just a little bit of blood. So the red light makes everything red to avoid any pecking. We also have a backup heat lamp just in case one burns out.
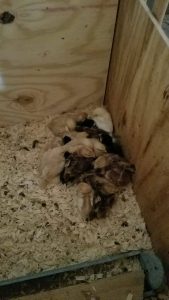
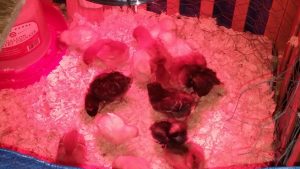
Once the lamp on a string was at the right level and plugged in, He added in about 2-4 inches of pine shavings for bedding. We use pine shavings as they are readily available and seem to work really well but you can also use pine pellets, straw or other soft materials.
ALWAYS REMEMBER TO AVOID:
Cedar Shavings
which are no good for the baby chicks. Also, Baby chicks do poop a lot changing the bedding often with the pine shavings seems to be easier for us.
Three other things that we added to the Brooder Box Crib were:

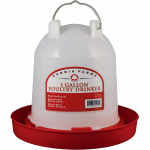
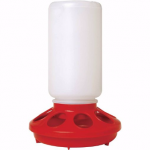
Thermometer – The temperature needs to be around 90-95 degrees for the first week, then can be reduced by about 5 degrees each week until the chicks have their feathers in (when they are about 6-8 weeks old). If you watch them closely they tell you if they are too hot or cold. If they are huddling in the corner farthest away from the light they are too hot, and if they are huddled in a ball under the light they are too cold. We use the thermometer to get the heat lamp at the right height and adjust it on the metal hanger as needed. You can find these at your local Farm Store/Tractor Supply or any hardware store.
A Waterer and a Feeder – We bought this little plastic waterer for our brooder box. It’s designed for easy cleaning and is harder for them to get it dirty. The feeder bottom is storebought, but the top is a mason jar. You can find these at your local Farm Store/Tractor Supply.
 One more thing that you need for the chicks is Feed.
You will need to get chick starter feed from a local feed supply stores. This is all your chicks will need to eat besides water for the first several weeks of their lives. We use the DuMor brand feed which features 20% protein to support weight gain and muscle development. It seems to work well for us and our chickens.
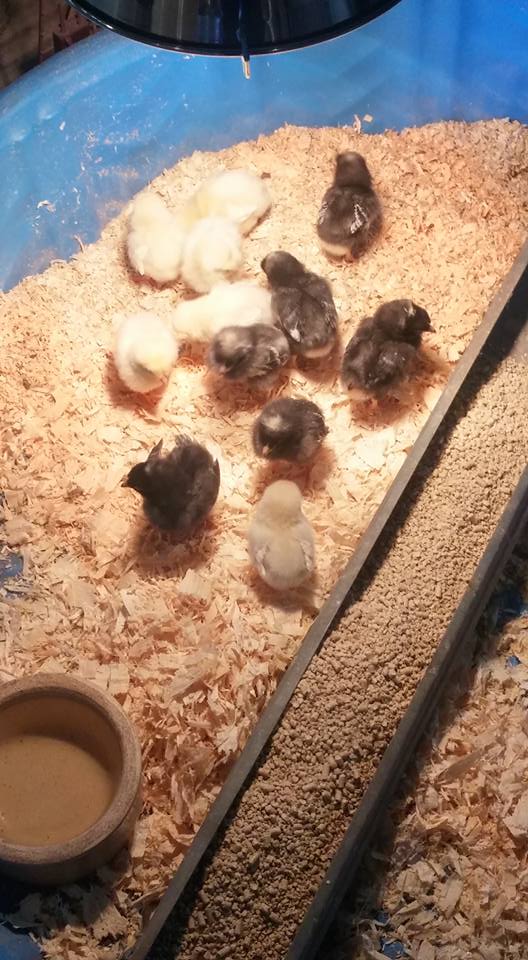
 One more thing that you need for the chicks is Feed.
I grew up on a farm and raised many chickens, but I don’t think we ever used an old crib. Such a cute and effective way to keep they from getting lost or eaten.
Fun project for those who have the room to do this.
Wow there’s so much to learn about keeping baby chicks!
That is such a cute idea! Thank you.
That’s pretty cool,and a great idea for the crib as well!
They are so adorable, I never knew there were so much to taking care of them.