As I learn more and more about PicMonkey, I find myself wanting to share all of these little tips and tricks with you! Did you know you can airbrush your photo, make business cards, and more? Today I am going to show you how to make a text mask, or double exposure text in PicMonkey.
How to Create Double Exposure Text in PicMonkey

Start by logging into PicMonkey. If you don’t have an account, you can create one for free. You’ll want to sign up for their royale version ($5 a month) to access all of the awesome features. Once you’ve signed in, choose design and then 8×10.
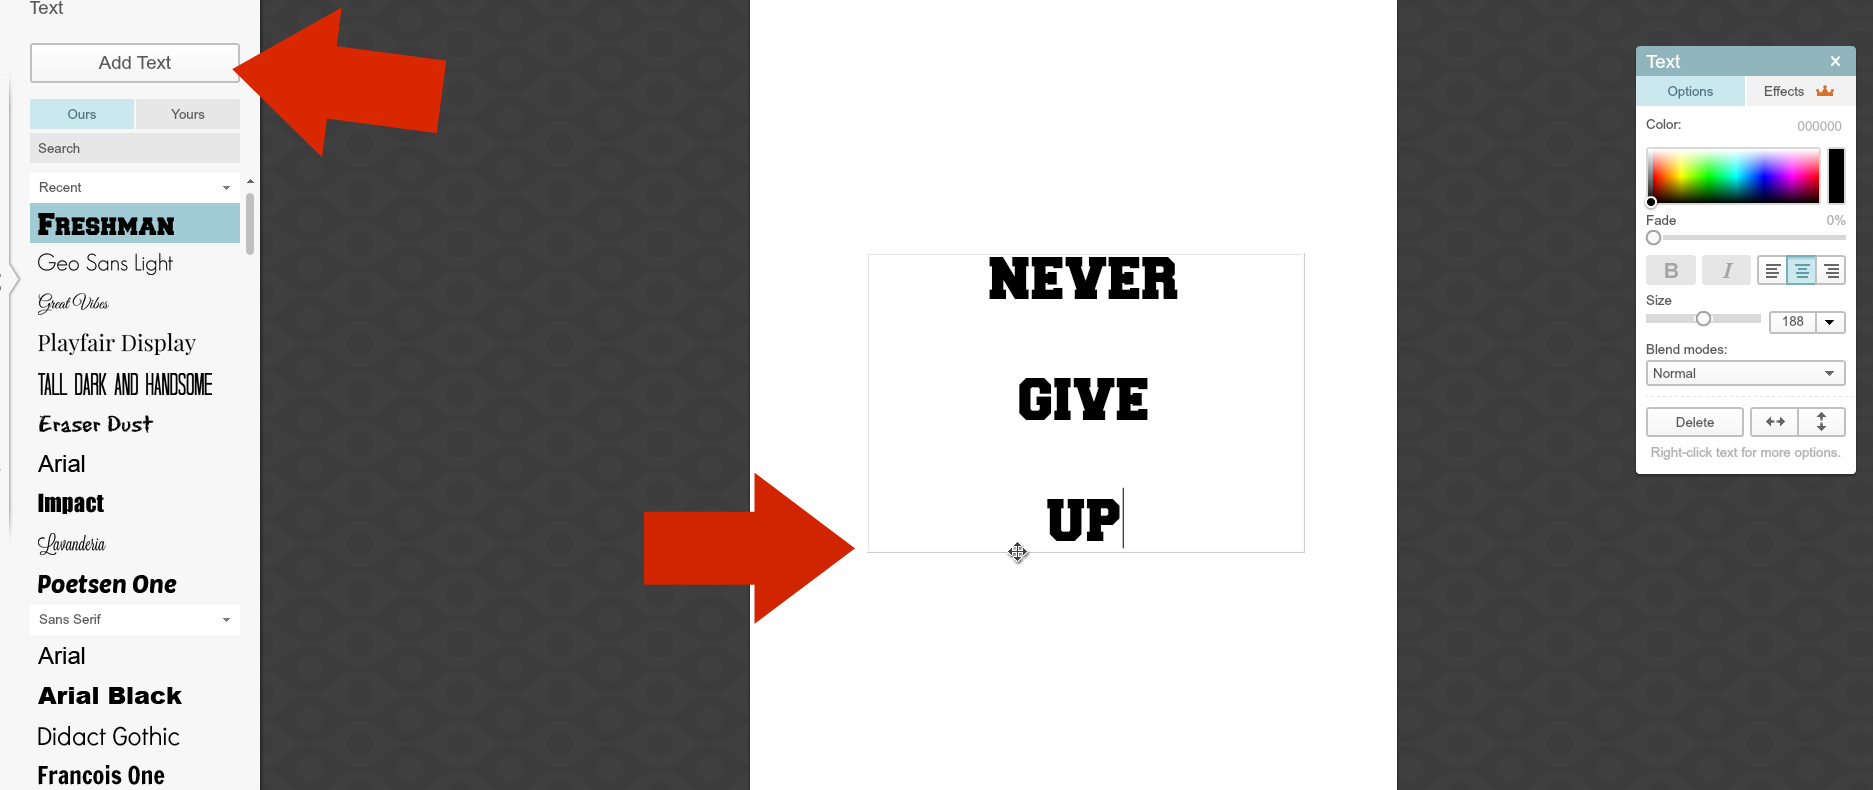
Decide on the text you’re going to use. I chose “Never Give Up”. Choose the text, placement, etc. Play around with it a little bit to get it perfect. Use a white background with black text for best results. Be sure to combine all elements (button up at the top) so your text doesn’t move while you’re adding the text mask.
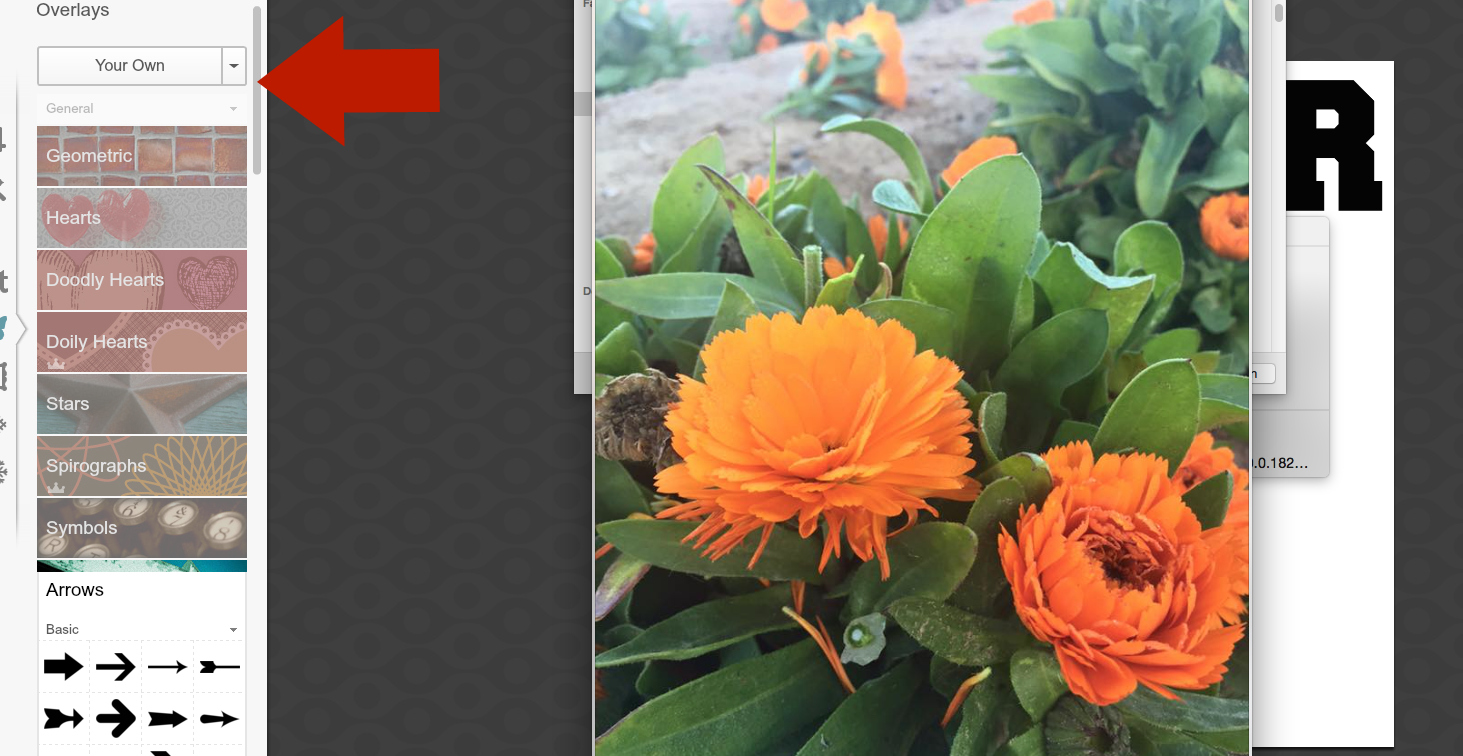
Click the overlay (butterfly) option, then your own, and choose the image you’d like to use. There are many options with this one, so just play around with it a little bit. I will show you another example after this one, too, so you can see the difference in images and overlays.
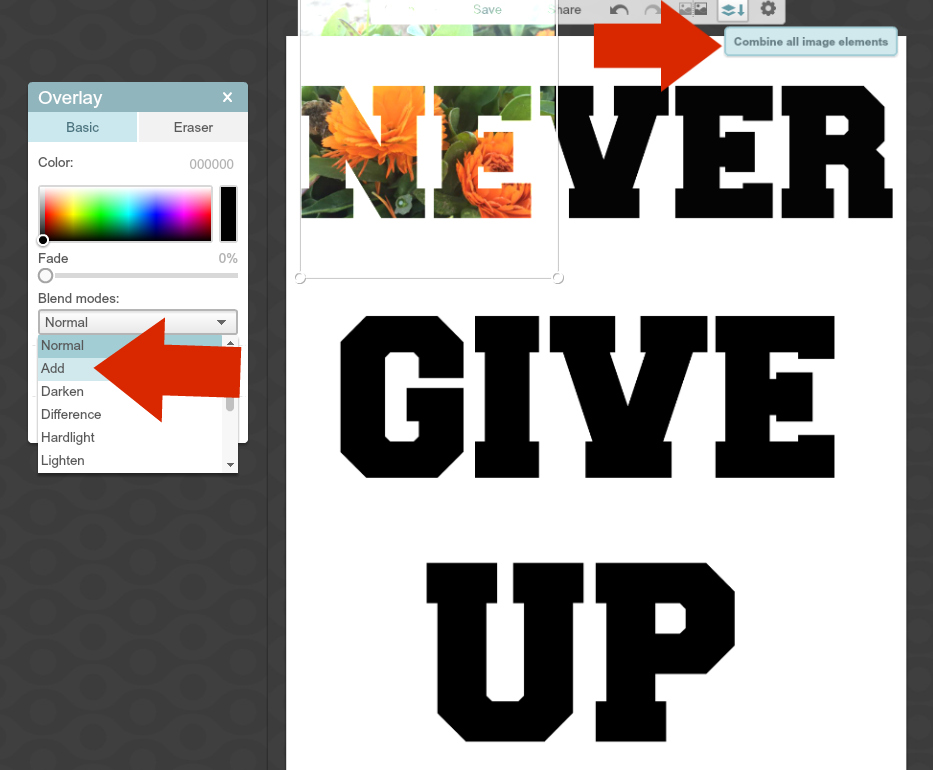
Place the image over part of your text, and shrink it down until you like the look. On the left hand side, you see that little box? There’s a drop down. Choose add. You’ll then need to duplicate the image (right click, duplicate) or find another one, so you can keep going with the overlays.
Keep repeating the process, always clicking “add” for the images. This is what adds them to the text rather than just the design as a whole.

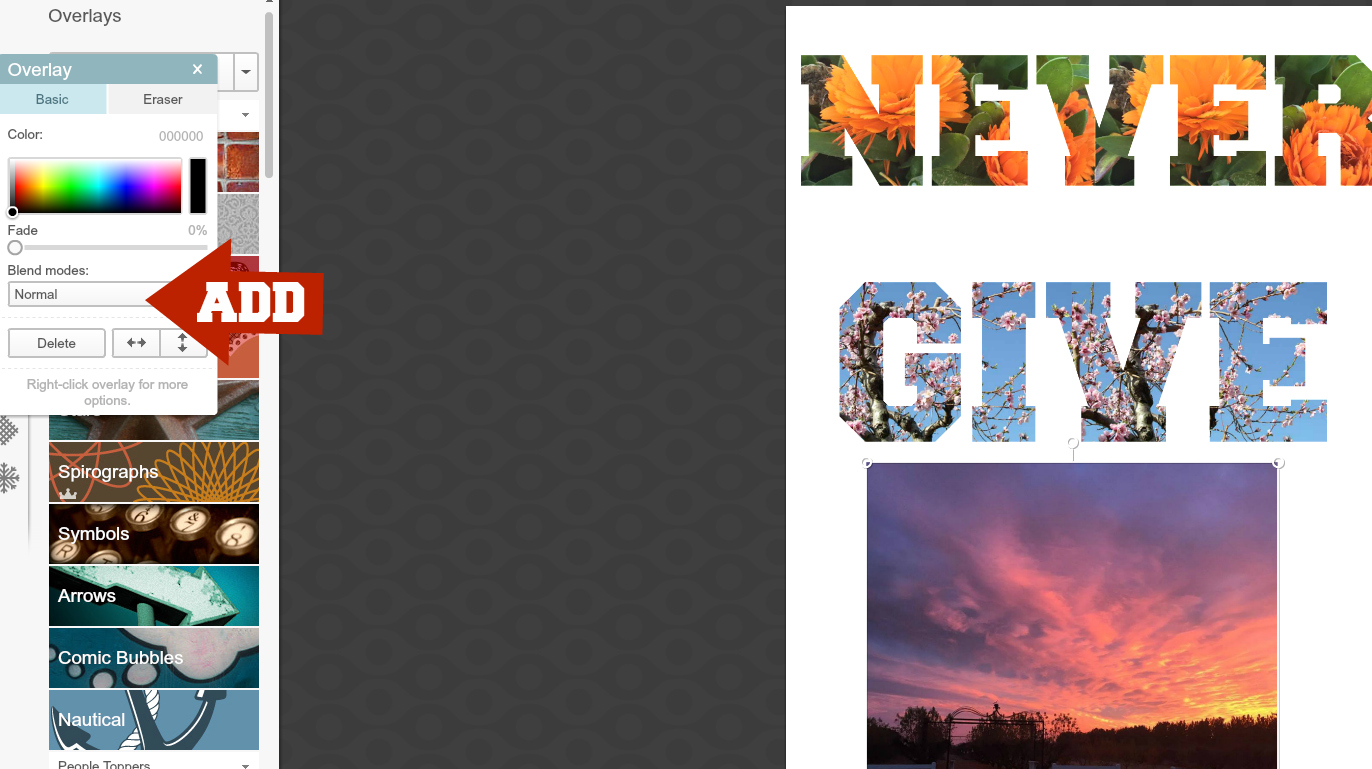
This is the finished result from the above tutorial; here is another version:
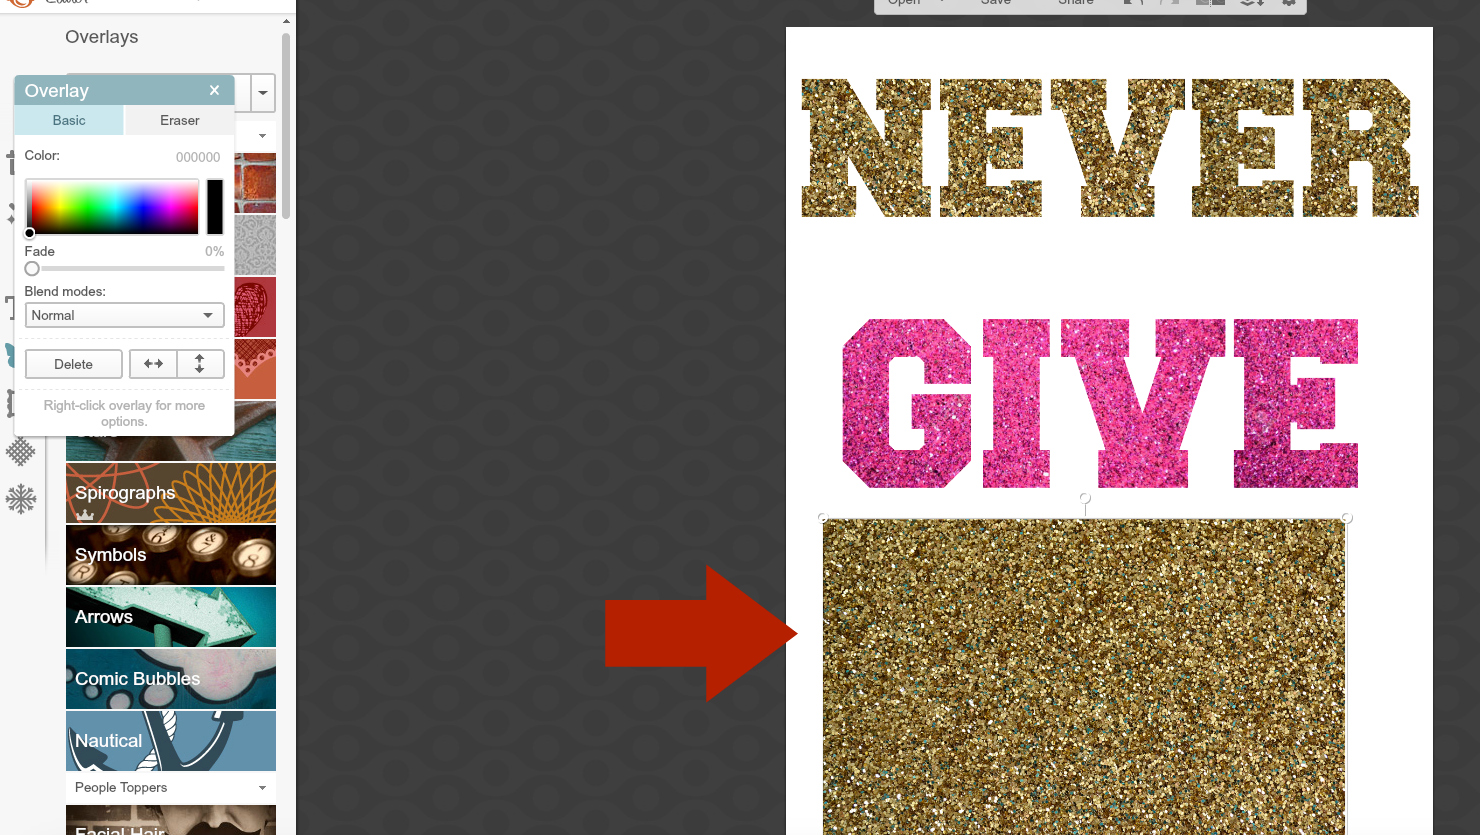
Adding an image of glitter as an overlay, you see it is the same process but looks a little different.

Leave a Reply